# Create a SAP bot
SAP Automation Agent has the automated process of BOT creation from a wizard.
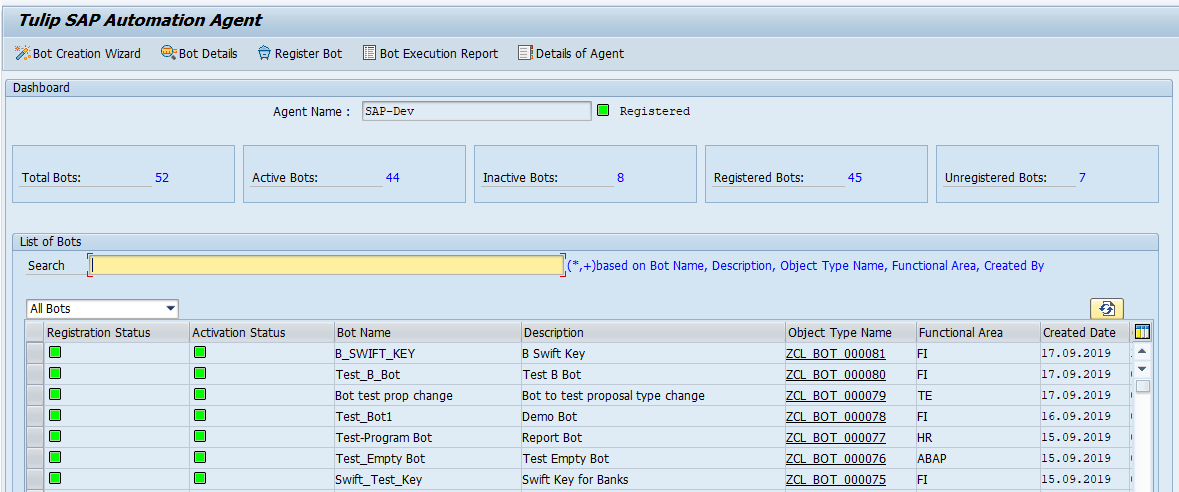
Go to transaction: ZTULIP_SAPAGENT

Tulip SAP Automation Agent screen appears as below:
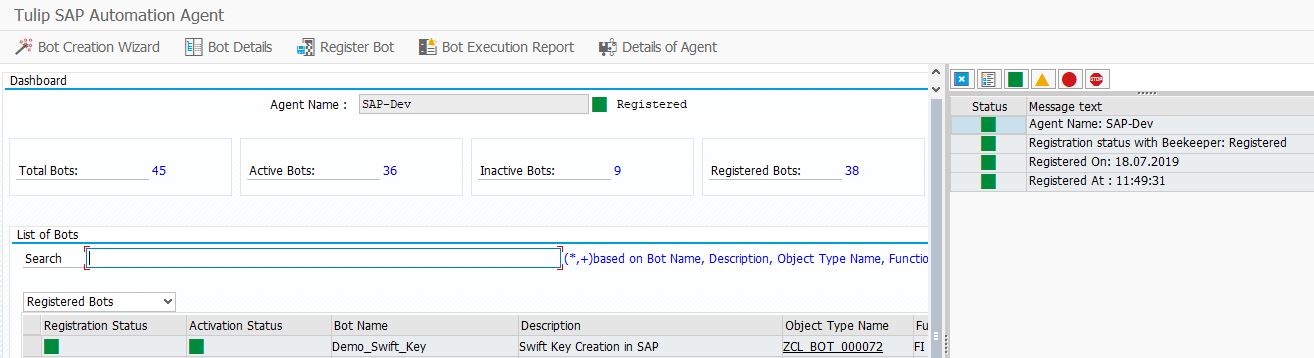
Click on BOT Creation Wizard from the Application Toolbar to create a BOT.
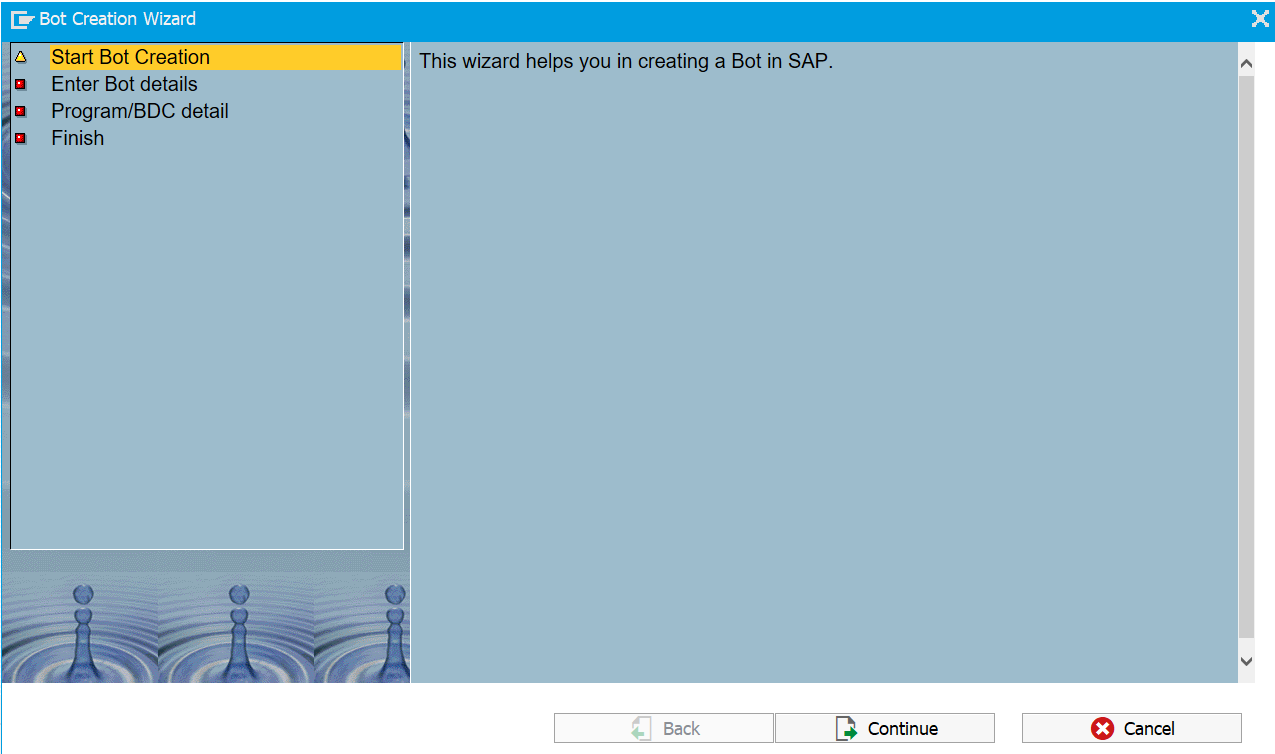
From this wizard, four types of BOTs can be made.
Empty BOT: Choose this type if you want to create custom BOT logic post the creation of BOT.
BDC BOT: Choose this type if BOT logic has to be generated from a recording. A new recording can be started from the next screen or you can provide an already existing recording.
Program BOT: Choose this type if the BOT logic lies in a Report Program. Make sure you have the report program ready to be entered in the next screen.
BC Set BOT: Choose this type if the BOT has to perform configurations from provided BC Set ID.
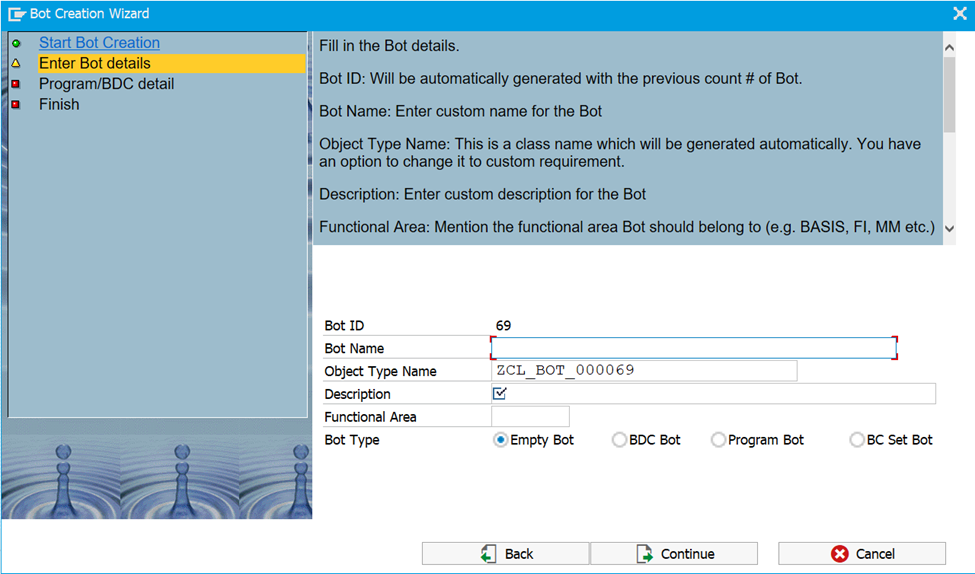
To create a new BOT enter the following >BOT details,
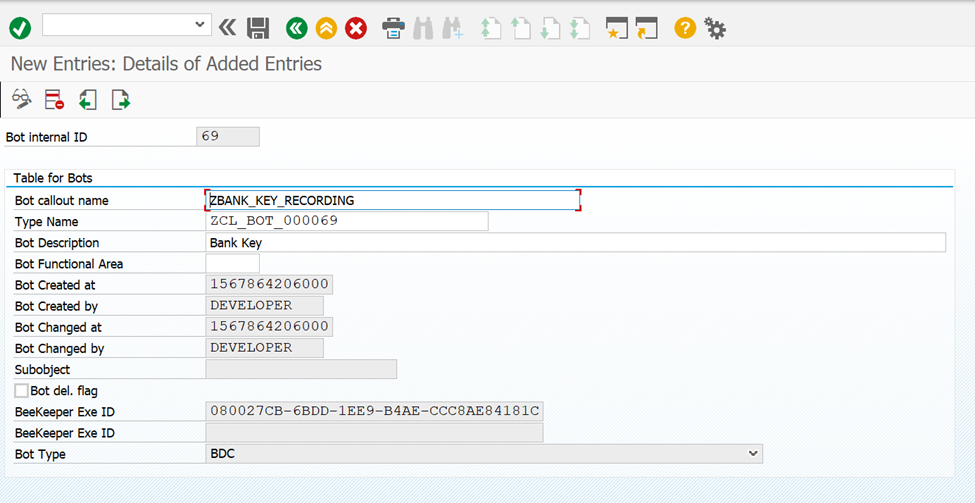
BOT ID: Will be automatically generated with the previous count # of BOT.
BOT Name: Enter custom name for the BOT
Object Type Name: This is a class name which will be generated automatically. You have an option to change it to custom requirement.
Description: Enter custom description for the BOT.
Functional Area: Mention the functional area BOT should belong to (e.g. BASIS, FI, MM etc.)
After entering the BOT details, click continue and it opens a new window, where you have to enter the required fields and click continue to create a BOT.
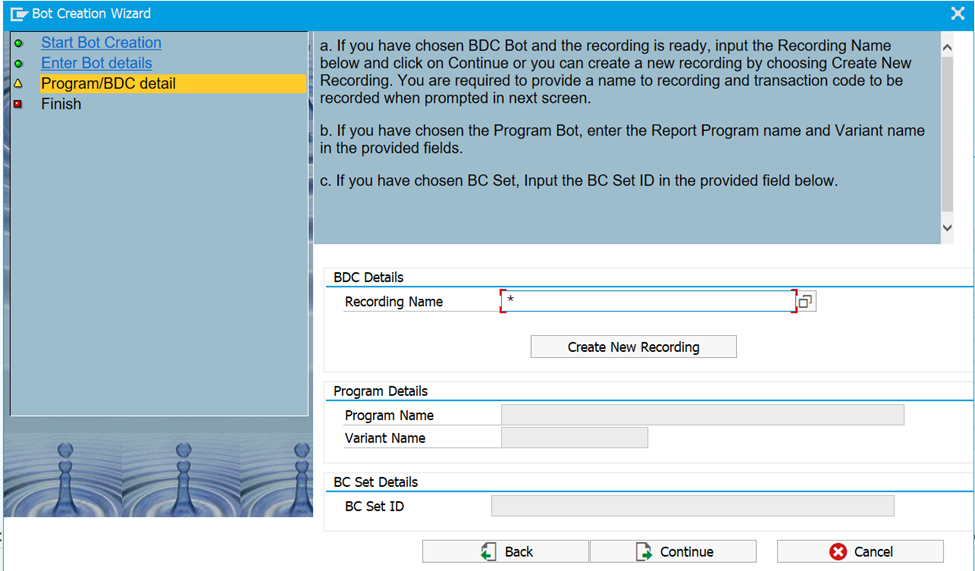
a. If you have chosen BDC BOT and the recording is ready, input the Recording Name below and click on Continue or you can create a new recording by choosing Create New Recording. You are required to provide a name to recording and transaction code to be recorded when prompted in next screen.
b. If you have chosen the Program BOT, enter the Report Program name and Variant name in the provided fields.
c. If you have chosen BC Set, Input the BC Set ID in the provided field.
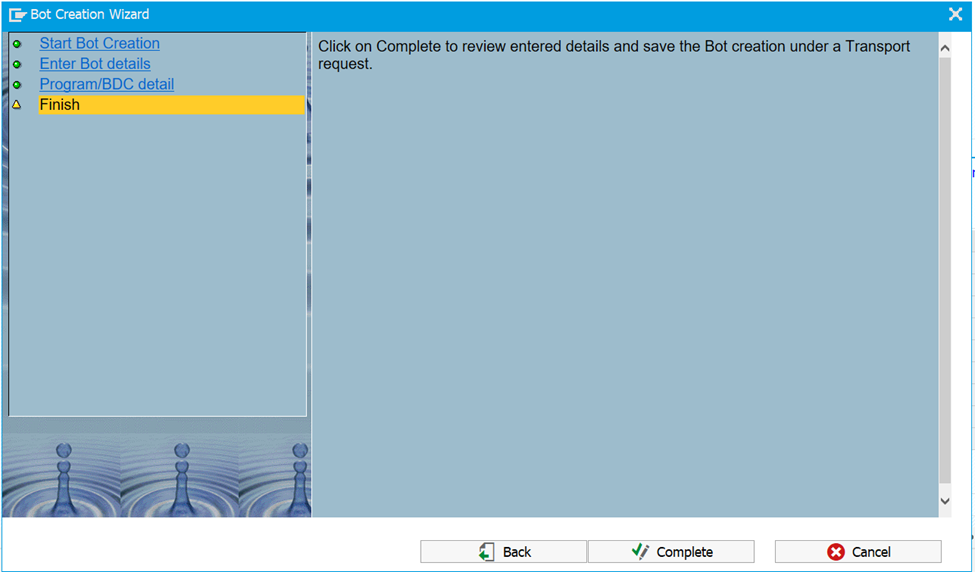
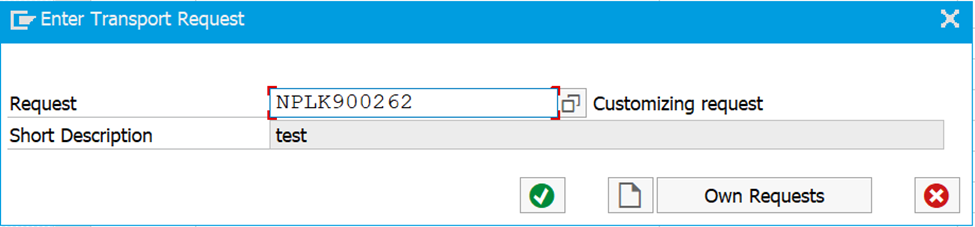
Click on complete to review entered details and save the BOT creation under a transport request.
Save the changes into a transport request. After Entering all the Details, Click on Save in the Main Screen.
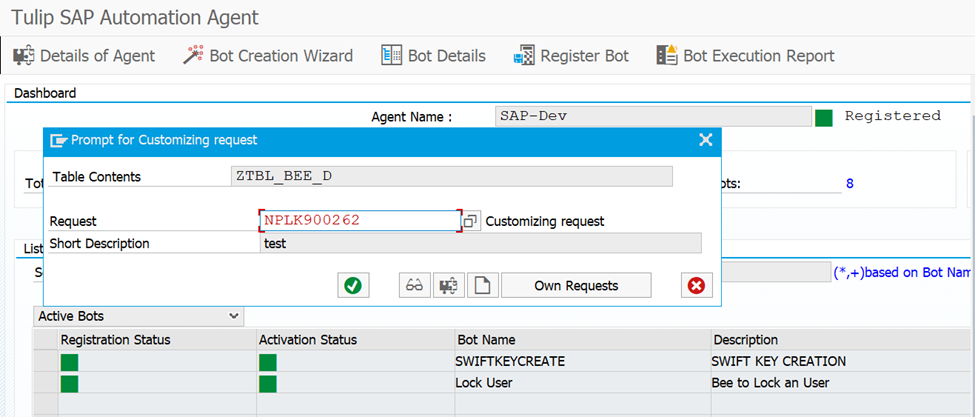
Provide the Customizing transport created for the specific use case.
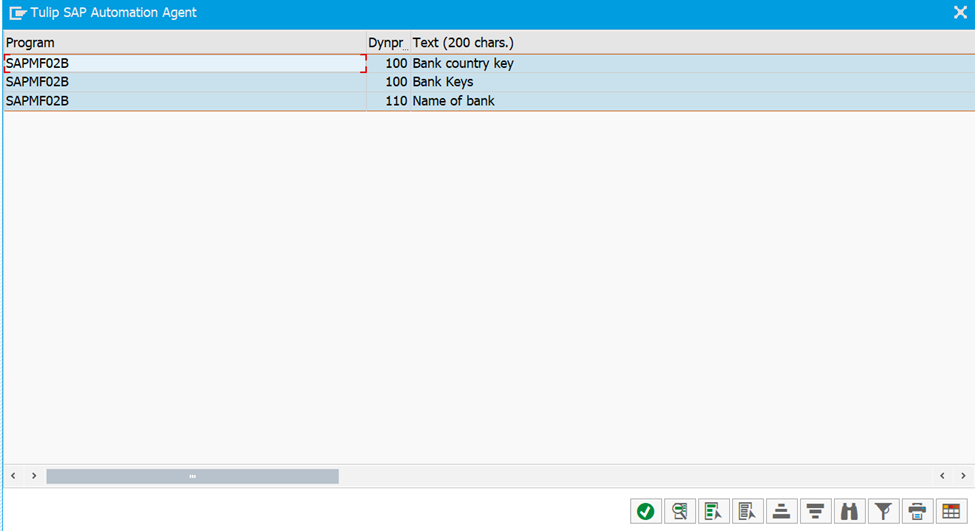
Select the fields to be inputted to the BOT.

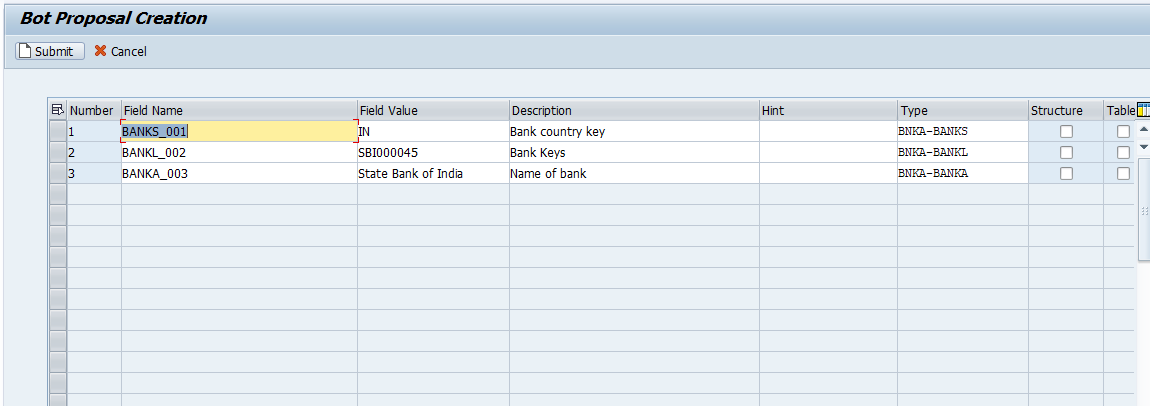
BOT variables will be listed with the performed recording and are open for any further changes. Name the input variables and hit Submit button.
Secure the changes in the TR.
Now BOT gets saved and visible in the workbench screen.
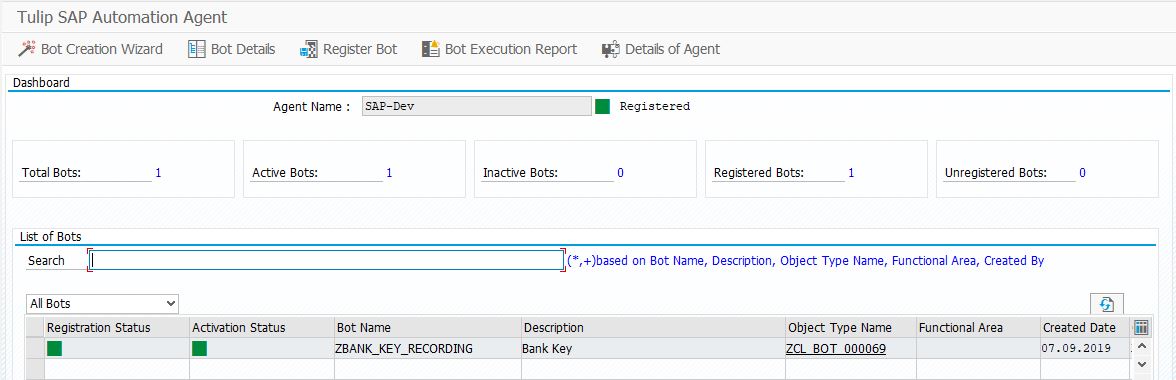
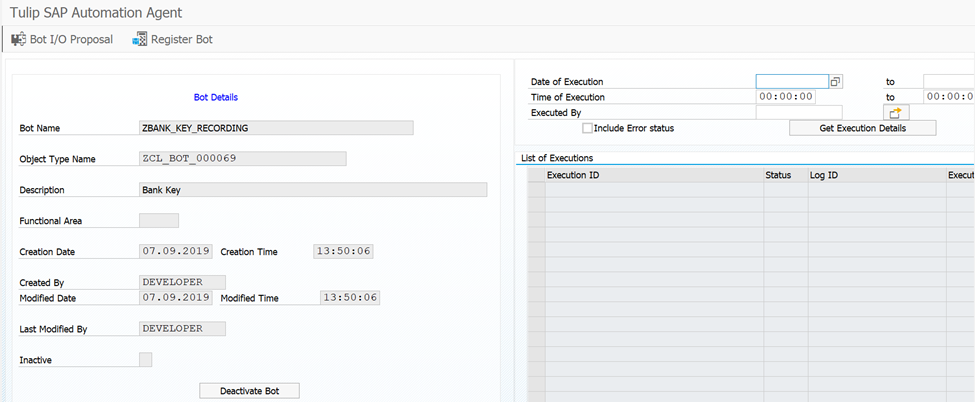
Hitting on the BOT details button will be taken to this screen where you will find all details, you can activate deactivate BOT, see execution records.
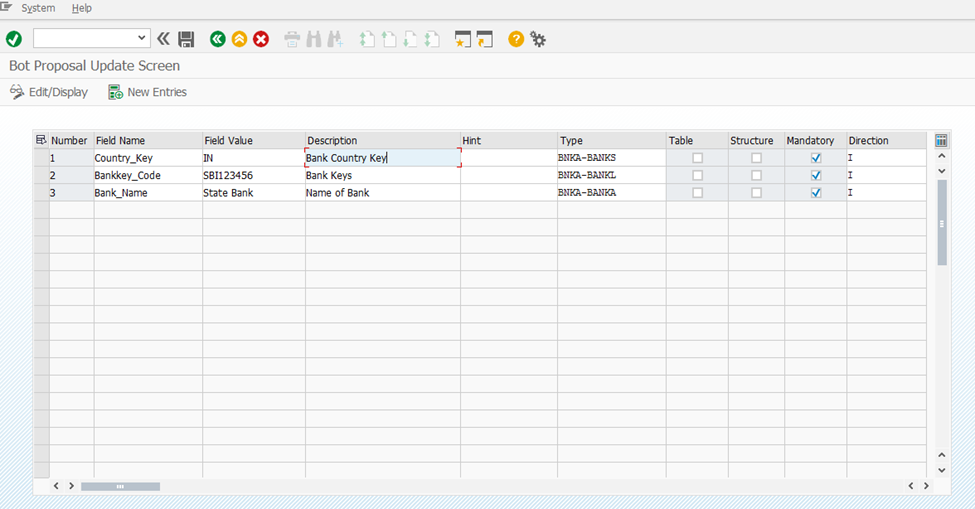
BOT IO proposal displays the details of all registered BOTs, such as Field name, Value, Description, Type, etc.
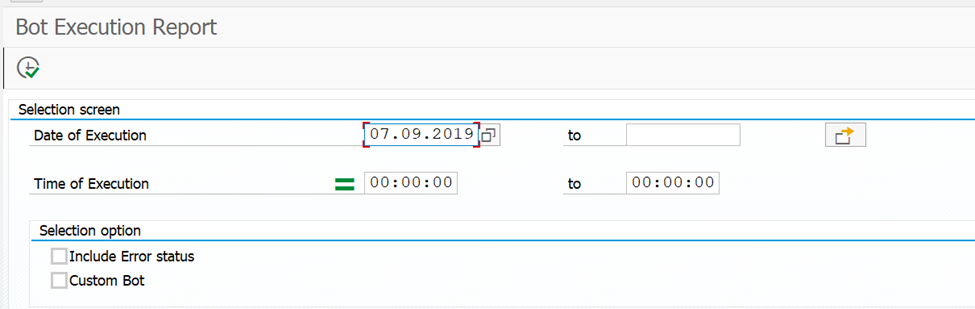
The Execution Records can be generated by providing the details of date and time of execution as shown below.
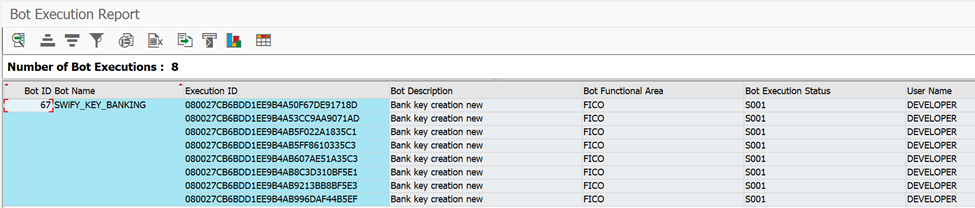
After entering the details, BOT Execution Report will get generated as below.
The created BOT will be registered to Tulip by clicking on Register Bot icon.
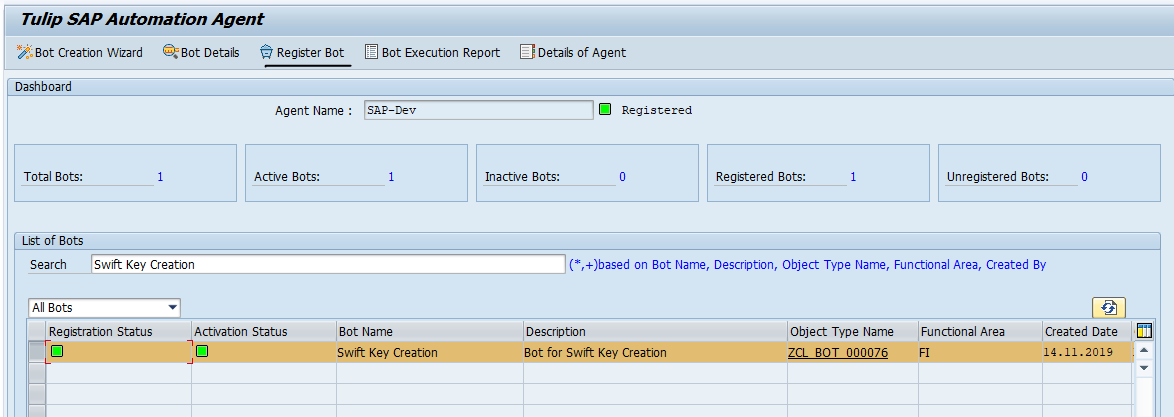
After the BOT is registered, it will get onboarded and will be used for execution.